Embroidering pet portraits can be an enjoyable art form. However, there are a few things you should know to ensure a flawless result.
Do you wish to add an extra dimension to your home décor with personalized furryroyal hand embroidered pet portraits but are unsure how to approach it? Embroidering portraits of your pets can be both challenging and rewarding, as you get to show off your passion for animals and increase the visual appeal of your home at the same time.
Handmade cat portraits or furryroyal handmade dog portraits can also be perfect gift items for a friend. However, while working on a pet portrait DIY, some common mistakes can easily be avoided that can save you headaches in the long run. Here are five mistakes to avoid when embroidering pet portraits.
The first typical error is using a needle that is either too small or too big for the hand-embroidered pet portraits. It is challenging work to draw the piece of string through into the cloth when using a needle with an eye that is inadequately sized. It is important that the tip of the pin creates a hole that is sufficiently big to allow the thread to be pushed through easily and smoothly without snagging the cloth.
When used on certain materials, a needle with an eye that is excessively large might potentially create conspicuous holes in such materials. In addition, it may make it difficult to form stitches that are near to one another, which may result in a gap being left between the threads that are easily evident.
The number of thread strands that you will be working with should guide your selection of the appropriate needle size.

A sturdy fabric foundation, typically with a dpi of 28 or higher, is required for the majority of surface embroidery techniques. If you choose an embroidered fabric with a much lower thread count, you may end up with stitches that are not properly formed. However, you may improve the surface by adding a stabilizer. For crafts using numbered thread or drawn thread, you will need a lower and looser thread count. Pulling and removing threads, as well as creating lacy stitches, are both simplified as a result of this.
In any kind of embroidery project, you should try your best to steer clear of tying knots in the thread. This is not the biggest mistake that could possibly be made. Instead, begin a new thread by making a waste knot, an away twist, or by threading the new thread into the rear of stitches that have already been done. When the work is pressed or mounted, knots produce an unattractive mass on the backside of the embroidered pet portraits, which causes the work to not lie flat. Additionally, when an embroidered dog portrait is washed, the knots have a tendency to untie themselves on their own.

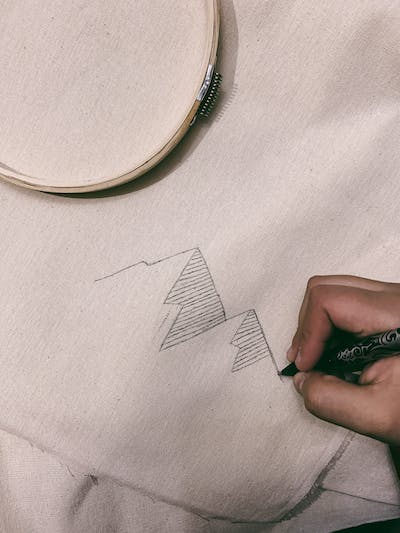
Transmission markers and pencils are excellent tools for producing iron-on patterns; nevertheless, their marks are irreversible. This indicates that the highlighted lines need to be entirely covered with embroidery before the project can be completed; otherwise, the lines will be visible in the final product. If you want to be able to remove the pattern marks from your final embroidered project, you will need to make sure that you marked the pattern on your fabric using a pencil or pen that is water-soluble. If you're not sure whether or not a pen or pencil will come out in the wash, try using it to write on a piece of the material you'll be using.
Before putting your stitching aside during the day, and particularly before placing it in storage for any period of time, you should always take the time to remove the hoop from your embroidery. A wrinkle in the cloth caused by a hoop may be impossible to remove completely or very expensive to do so. However, because stretcher frames and scroll frames do not result in creases, it is OK to keep your artwork in any of these types of frames. Before putting the needle away for storage, you should take precautions against rust by removing it from the cloth.
Conclusion
As can be seen, there are a few pitfalls to steer clear of while embroidering handcrafted canine images. If you make a masterpiece using these easy pointers as a guide, you can be sure that it will be something of which both you and your four-legged pal can be proud.


 Facebook
 Twitter


